Tuesday, August 19, 2014

Old World Photo Shoot

Old World Photo Shoot

This photo shoot was done at the State Hospital in Provo, Utah.  They have an amphitheater made out of stone that is beautiful.  It really lends itself to the feel of our shoot.  My mother made a bunch of costumes to create the look that we wanted.  I love the art work of William Adolphe Bouguereau.  That is the sort of feeling I wanted from this setting.  We used family members for our models.  It seems that they are well practiced in the way we want them to pose.  
This is Zoey, my daughter.  

These were taken in the fall.  The fallen brown leaves look great in the photos.

Giving Sophie a needle and thread gets her engaged in her project and lessens her focus on me, the photographer.  Her eyes may seem a bit puffy because she was crying. 


Sophie poked her thumb.

This is my third son, Wylee.  You put a puffy shirt on him, with a hat and vest and he is good to go for the shoot.  The rock wall was great too.

I love how her legs are positioned here.  I think that the little basket adds too.

This is a bird from the craft store.  You can hardly tell in the photos.


Sophie has a ball of yarn that I spun.  She also has a hook to play with but she is just poking it down in the ball.  

This is Sophie.  I got the sweep stakes ribbon in our fair.  I would have guessed the top photo of Zoey would have won.  I love both photos but you never know what someone will pick.  I have both pictures up in their room.

Mary, my niece, sewing.

Mary and Genevieve are so cute.  Mary is sewing to distract her from the photographers.  There was a lot of stuff going on in front of them on the lawn.  They were watching the other kids dancing and playing on the lawn.

Samantha and her daughter, Juliet are in this photo.  The colors are gorgeous.  Samantha is a little soft here but I still love the picture.


This photo I antiqued and I love the effect.  It almost looks sepia toned but still has color.


This is Cassie and Dagny.


This is my niece and her children.  You may not always notice when you are setting up your scene the way the feet are positioned.  In the photo before his feet are not as artistically placed.  I tend to take a lot of pictures so those little things that make me like my photos more happen naturally.

Thursday, August 14, 2014

At Home in the Garden #7

This is the seventh block from the At Home In The Garden pattern.


I have been slowly getting this done bit by bit.  I do have all the blocks sewn now but I am still working on the quilting.  I did bead the eyes and again did the long whip stitch around all the wool.  I am working with out a frame.  I have never done this before but I have only hand quilted one other quilt before.  I do wish I were faster but I think that comes with practice.

Tuesday, August 12, 2014

Postage Stamp Quilt Class


Carmen Geddes Postage Stamp Quilt Class

Carmen showed us her method of making these postage stamp quilts.  They can be made from any size squares really but she has foundation that you get to match the size of squares you want to make.  She had the Quilt Smart and her own kind.  I can't remember what her brand was called but I am sure you can look her up and find out.


She said that she uses glue stick to first hold down the squares to the foundation.  Then she irons it in place.  The foundation is fusible.  She then folds each row and sews down the entire row.  She clips on the lines at each intersection and then folds over the next row and sews all the way down.  Is that clear as mud?  I am sure the instructions are better.


This one used bigger squares.


For a big quilt you have to make it in sections.  This is showing you the sections, then you sew the next panel together.

This one is beautiful.  I love it.  She did this one in sections too.

The boarder was made in this method.  It is perfect.


My hesitation with this is that the foundation adds another layer in my quilt.  If I decided to hand quilt it, it would be that much harder.  I also didn't want to spend the extra on a layer that is not seen.  It was going to add another about $75 to my quilt.  Quilting is expensive as it is and I need to really think about if it is really worth the expense, to me. My friend Becky loves the product and her quilts are beautiful.  She loves the product.  If you look at the Quilt Walk pictures she has a lone star in blue that she used this method.  I love her quilt.

Thursday, August 7, 2014

Quilt Show and Auction for the July Fair

Auction and Quilt Show

This is spectacular.  I love this quilt.  I really think that Francine Berrett made this.  She does lovely appliqué.  These first quilts are the ones that are just on display.


This looks like a bunch of 2 1/2" strips or a jelly roll sewn together.  The applique make this a wonderful quilt.  It is beautiful.

It is hard to see the beautiful embroidery on this quilt but it is really nice.

A fabulous fall quilt.

This is really using up your scraps.

The Auction
I think that these start the auction quilts.  I don't know who donated them but the proceeds go to the guild, I think.  They have speakers come and that helps them with their budget.


Angels among us.

My sister, Heather really likes this quilt.  I like it too.

This first apron is made form the selvages of the fabric.  The second one has pockets from an old quilt.


I think they call this a water color quilt.  Someone went to an awful lot of work to do this one, I think.

I think that these were made from wool.  


I am amazed at all the people willing to donate and share their talents with others.  The ladies that so generously gave are so kind.  I didn't stay for the auction because I wanted to have lunch.  It was fun to see the tail end of it though.  I enjoy a good auction.


Tuesday, August 5, 2014

Working With Wool Class

Wonders with Wool at the Utah Valley Quilt Guild July Fair


This class was so fun.  Just think of the possibilities you can make with those old wool sweaters you have.  This class was taught by Lisa Dunn and Karen Shepard.  It was a make it take it class too.  They made these trees and put pins where the moth holes were in the sweater that they used.  The mittens are so darling, even the buttons on the sweater were used.

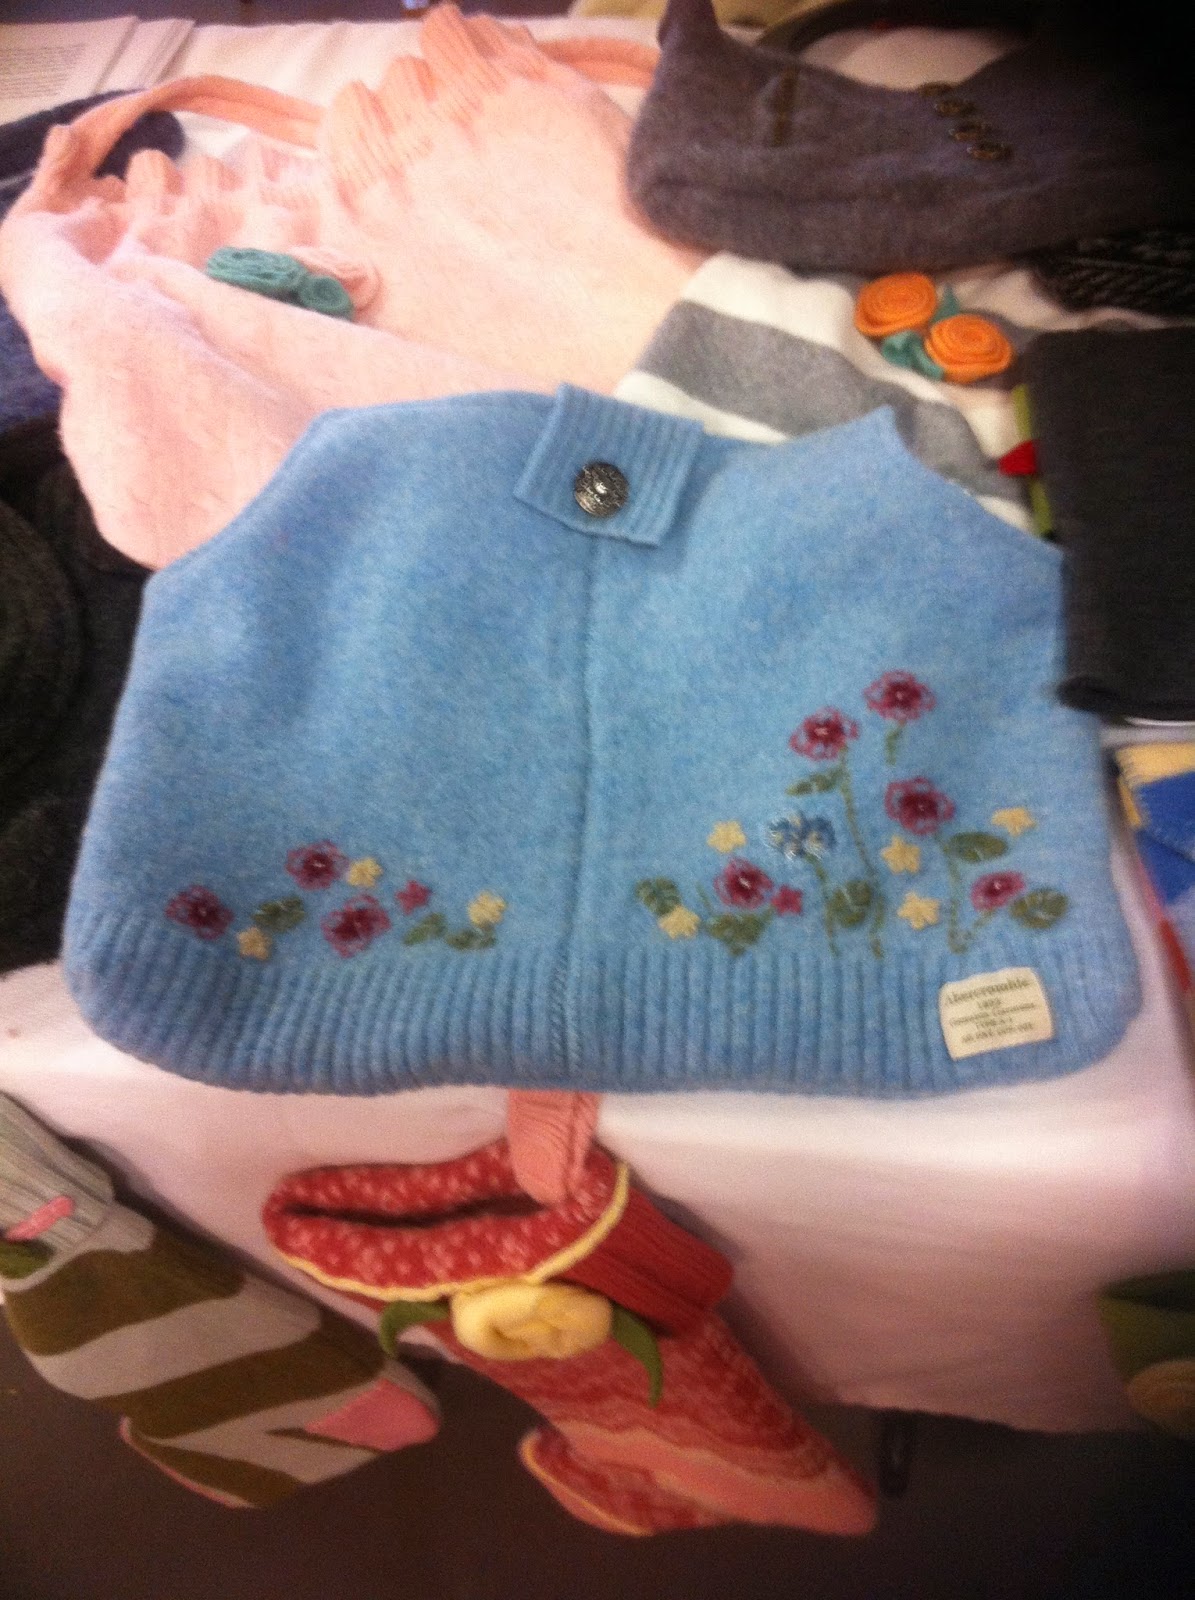
These purses were so fun.  They laid fabric behind the wool and stitched and then cut away inside the leaves.  I love the look.  Notice the part that curves in to the top that was where the arm holes were.  She lines the purses too.


They said that to make the stocking you have to make a seam diagonally to the heel to make it hang right.  The embroidery and the design were already on the sweaters that they used.  Aren't they so fun.

That top black bag was one of my favorites.  The handle is hanging on the other side of the table so you cannot see it but I love it.  The bottom on is showing how you don't need to turn under your seams after you have felted your wool sweater.  They used a long whip stitch to sew down their designs.


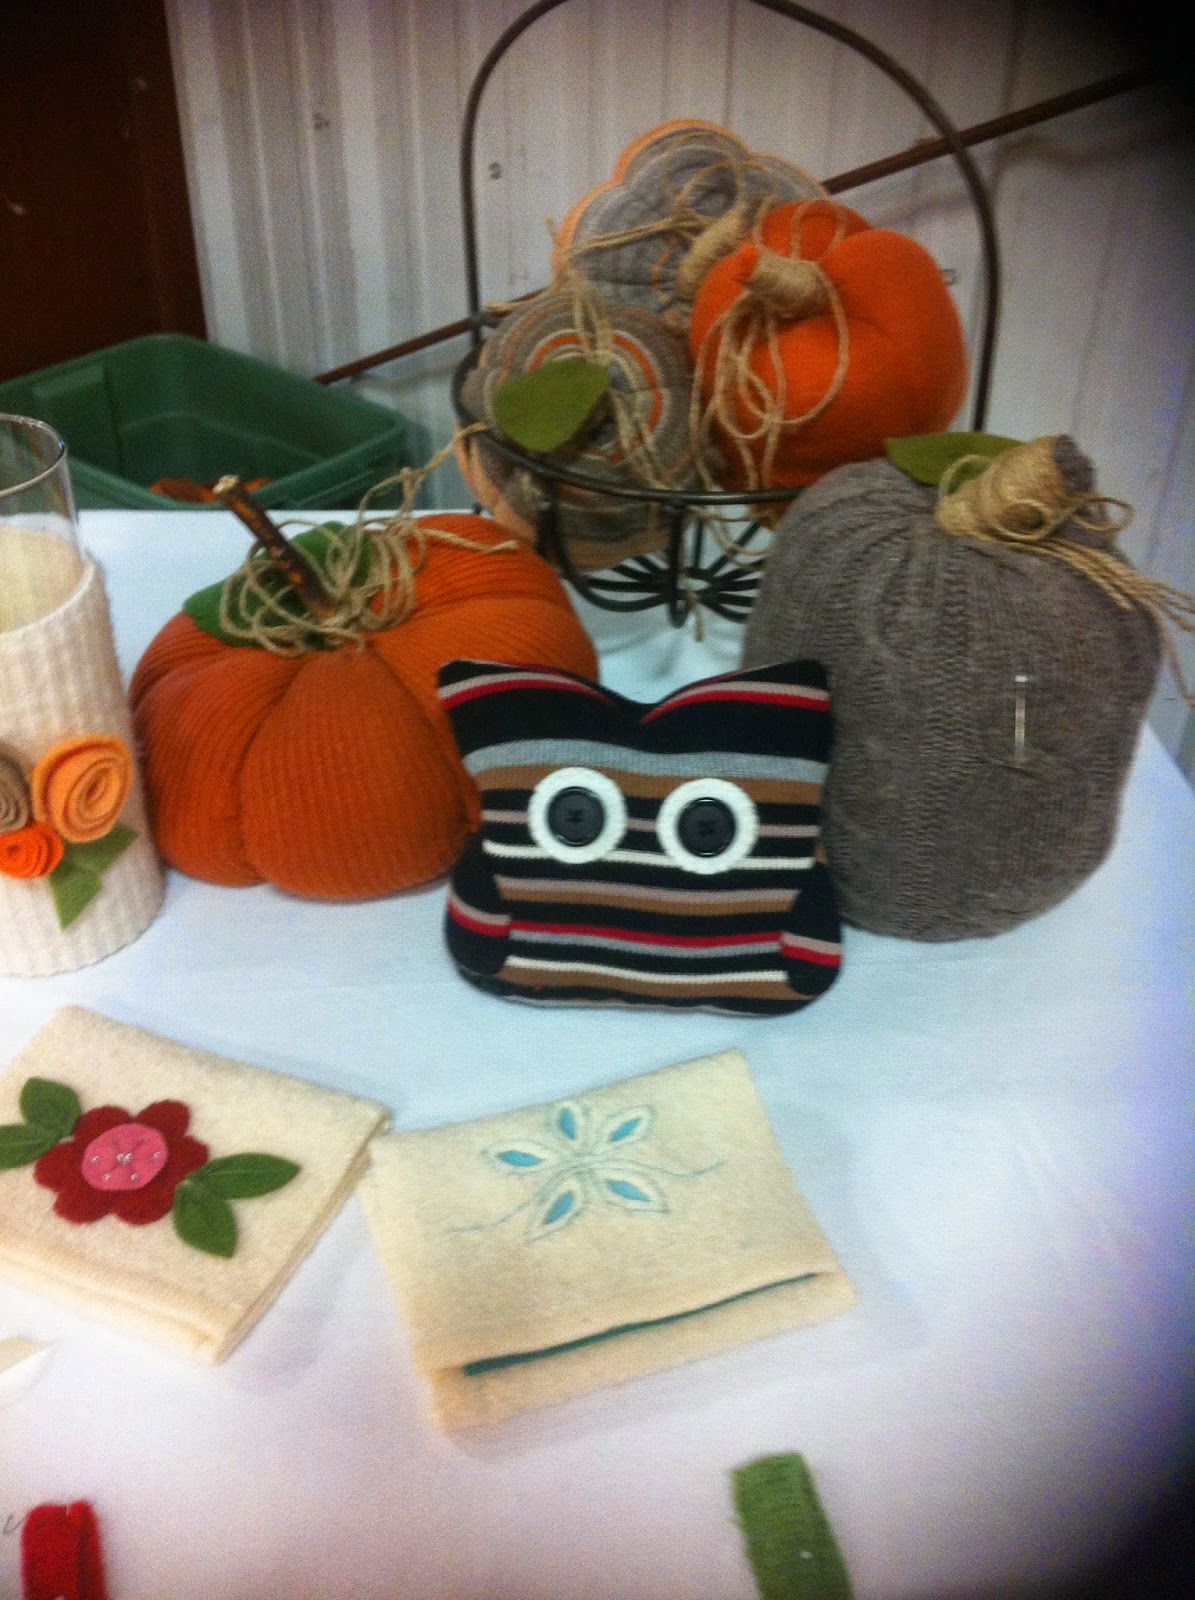
Those are needle books for your on the go stitching needs.  The pumpkins are so festive.  The candle on the left was just a sleeve of a sweater and they used the seams to make the flowers.

They were using up left overs to make these pin cushions.  The outer cupcake is a cuff of a sweater.

Look how they used the detail from the front of the sweater to make this stocking darling.  Those are the clasps to close the sweater.  They said that they like to shop at the thrift shops to find their sweaters.

To felt your wool, you need to put your sweaters in your washer.  The top loading washers seam to work best.  You wash your sweater on hot and cold rinse.  You dry it in the dryer.  It will be felted after that process and should be several sizes smaller.  If it isn't 100% wool you may not be as pleased with your result but I would still try it.
This sweater has the embroidery that came on it.  It is now a bag but the handle is folded back under.

These ladies were really fun to listen too.  I felt like coming home and making something darling.

I thought this was such a great idea.

They waisted nothing from the sweaters.  They used the seams to make the flowers.  They said that if it didn't felt up well they made sure that they had the edges in the seams.  That is a scarf next to the pillow.  It was made from lots of different sweaters.